
Last week I needed a local IMAP server on Mac OS X Leopard for temporary testing. After struggling with courier-imap for hours, I’ve finally settled on Dovecot . You’ll see below how easy it is to install and configure it.
We’re lucky, Dovecot is available in MacPorts , so we can install it easily:
1$ port install dovecot
It’s time to configure it. We start with the default configuration template:
1$ cp /opt/local/etc/dovecot/dovecot-example.conf /opt/local/etc/dovecot/dovecot.conf
Then we can edit the
dovecot.conf
configuration file as we wish. FYI, here
are my modifications:
--- /opt/local/etc/dovecot/dovecot-example.conf	2010-04-23 14:29:52.000000000 +0200
+++ /opt/local/etc/dovecot/dovecot.conf	2010-04-23 14:51:06.000000000 +0200
@@ -21,7 +21,7 @@

 # Protocols we want to be serving: imap imaps pop3 pop3s
 # If you only want to use dovecot-auth, you can set this to "none".
-#protocols = imap imaps
+protocols = imap

 # A space separated list of IP or host addresses where to listen in for
 # connections. "*" listens in all IPv4 interfaces. "[::]" listens in all IPv6
@@ -45,7 +45,7 @@
 # SSL/TLS is used (LOGINDISABLED capability). Note that if the remote IP
 # matches the local IP (ie. you're connecting from the same computer), the
 # connection is considered secure and plaintext authentication is allowed.
-#disable_plaintext_auth = yes
+disable_plaintext_auth = no

 # Should all IMAP and POP3 processes be killed when Dovecot master process
 # shuts down. Setting this to "no" means that Dovecot can be upgraded without
@@ -221,7 +221,7 @@
 #
 # <doc/wiki/MailLocation.txt>
 #
-#mail_location =
+mail_location = maildir:~/Maildir

 # If you need to set multiple mailbox locations or want to change default
 # namespace settings, you can do it by defining namespace sections.
Before starting Dovecot, we have to create a dummy SSL certificate:
1$ mkdir -p /opt/local/etc/ssl/{certs,private}
2$ openssl req -new -x509 -days 3650 -nodes -out /opt/local/etc/ssl/certs/dovecot.pem -keyout /opt/local/etc/ssl/private/dovecot.pem
And finally, we can launch the Dovecot server itself as
root
:
1$ dovecot
That’s all!
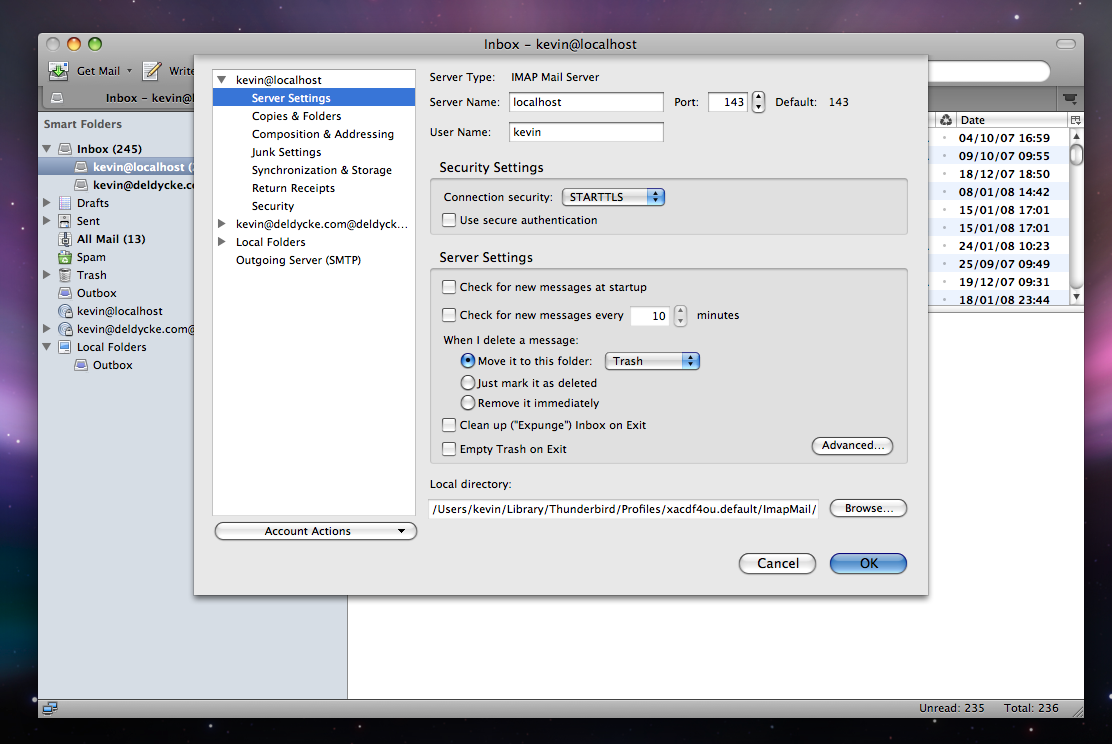
You can now access your local IMAP server with any client. Here is an example with Thunderbird :
And if you have problems, the first reflex is to read Dovecot’s logs:
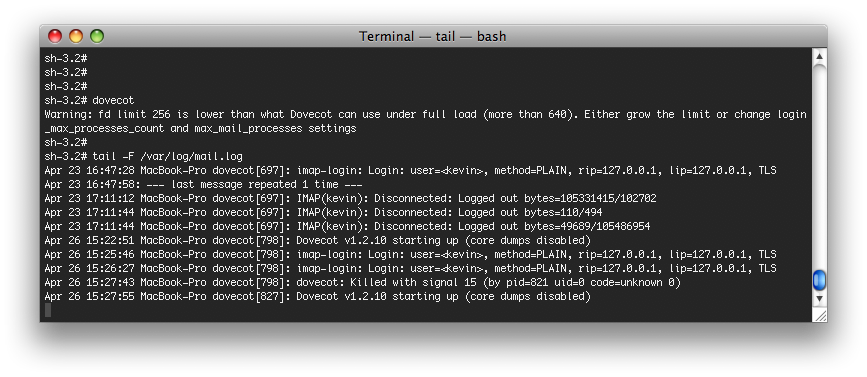
1$ tail -F /var/log/mail.log
2 archived comments
Comments are closed. These were posted on Disqus, and are archived here.
-
I've just tried to install dovecot 1.2.11 from MacPorts on Mac OS X Snow Leopard (10.6).
If the whole procedure is the same, I had to modify the
dovecot.conffile differently. Here is my version of it:--- /opt/local/etc/dovecot/dovecot-example.conf2010-08-24 21:06:11.000000000 +0200 +++ /opt/local/etc/dovecot/dovecot.conf2010-08-25 02:13:25.000000000 +0200 @@ -21,7 +21,7 @@ # Protocols we want to be serving: imap imaps pop3 pop3s # If you only want to use dovecot-auth, you can set this to "none". -#protocols = imap imaps +protocols = imap imaps # A space separated list of IP or host addresses where to listen in for # connections. "*" listens in all IPv4 interfaces. "[::]" listens in all IPv6 @@ -221,7 +221,7 @@ # # <doc/wiki/MailLocation.txt> # -#mail_location = +mail_location = maildir:~/Maildir # If you need to set multiple mailbox locations or want to change default # namespace settings, you can do it by defining namespace sections. @@ -904,7 +904,7 @@ # Some examples: # args = session=yes %Ls # args = cache_key=%u dovecot - #args = dovecot + args = login } # System users (NSS, /etc/passwd, or similiar)
Note that this connect the authentication to the system-wide PAM. So you have to connect to your local IMAP server on
localhost:143and with the credentials of your Mac user account.-
In addition to adding
"args = login", I also had to copy/etc/pam.d/ftpdto/etc/pam.d/dovecot:auth required pam_opendirectory.so account required pam_permit.so password required pam_deny.so session required pam_permit.so
-